Gnasher328
Senior Member
- Joined
- Aug 9, 2012
- Location
- Chiang Mai / New Forest, England
- Bikes
- Ducati 851 & Mille S2, HD FXR, Trumpet R3, BMW R100RS, CRF 250
Just before I left the UK for Thailand, a friend told me he had cracked his screen and the Monty was dead (or at least comatose). Foolishly I suggested that it should be easy enough to replace and we began trawling the web. The Monty screen isn't the most common but there were a few around. The best deal seemed to be on Amazon, at :-
Amazon.com: Touch Screen Digitizer Glass Replacement For Garmin Montana 600 650 650T: GPS & Navigation.
some looked downright dodgy, there was on complete with LCD Ebay in the US for around $100 - but the postage was stated as $200!
I was a bit dubious about a Chinese site, and they didn't ship to Thailand or the UK, but a message to them received an immediate reply which was reassuring. Theys said they didn't ship to the UK due to customs clearance problems and the risk of bad feedback (the Parcelforce etc rip off?), but if I would accept that they would make an exception. It arrived quickly with no problems but I had already left so my lodger posted it on to Thailand, where it also arrived quickly and hassle free.
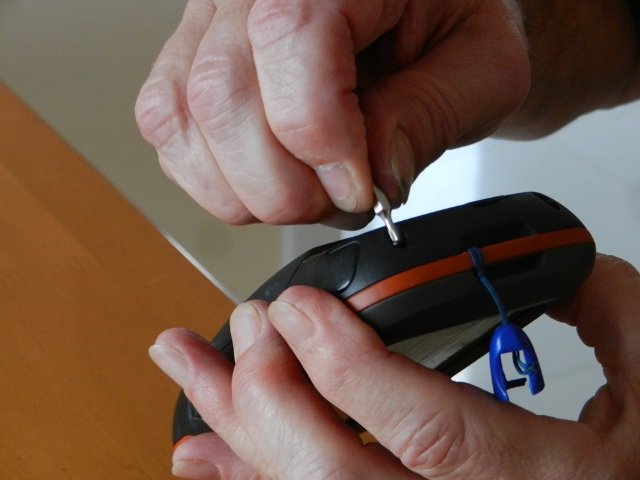
Now the fun part! Disassembly was surprisingly easy with no sealants, glue or sealed screws, just tiny 'torx' heads.
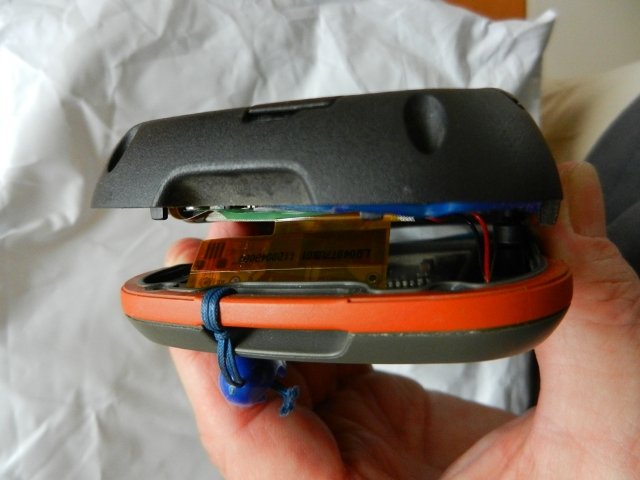
However once the case was split there was very little play on the cables to get at the connectors - that was going to cause trouble later!
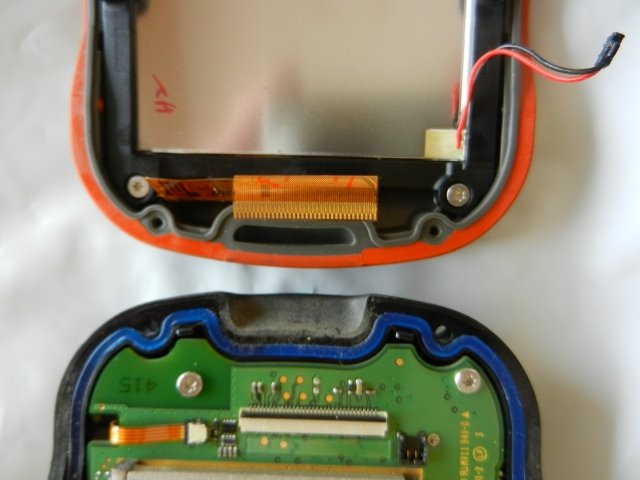
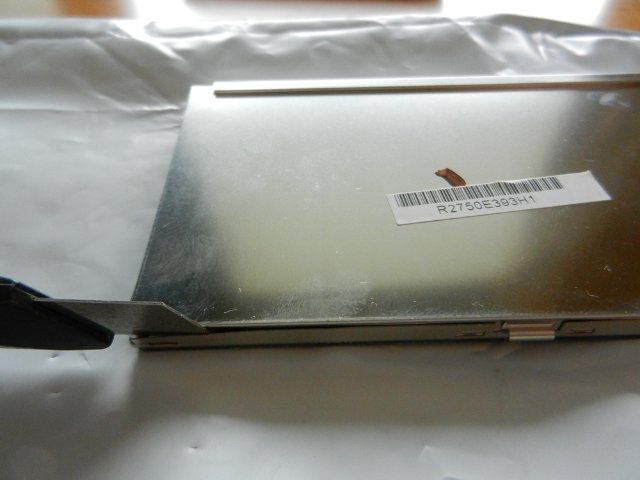
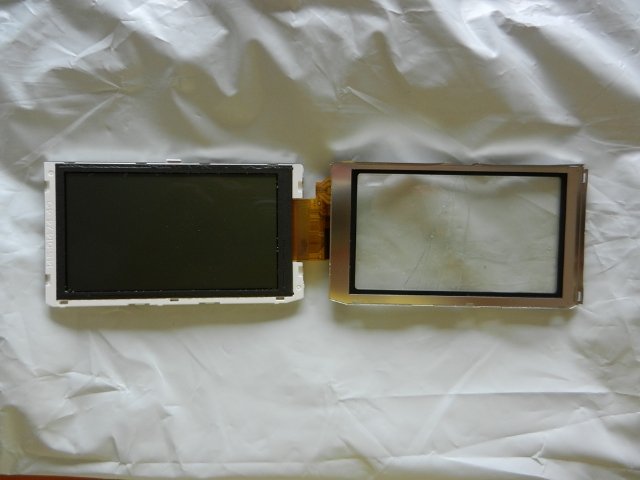
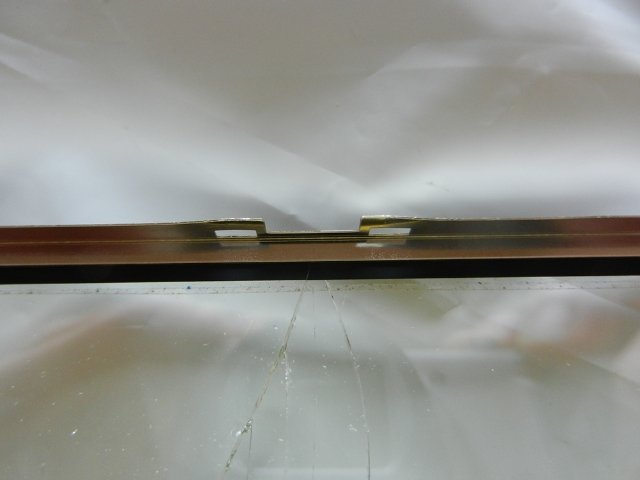
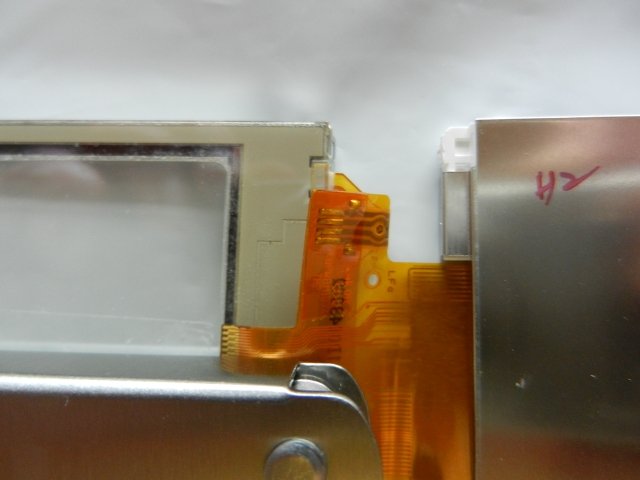
I flipped the black latch on the ribbon cable and used a magnifying glass to figure out the backlight power, which turned out to unplug vertically from the board with leverage from a tiny screwdriver. I was worried about getting the wrong angle and damaging the tiny pins.
The digitiser is stuck to the frame so I tried warming the unit to see if it made getting it off any easier - it didn't so I decided to remove it from the LCD to avoid the risk of breaking it. That was nerve wracking enough as these things are designed to snap together, not apart so I gently bent the tabs well free figuring they would be easy to straighten later.
I unsoldered the cable connection, then with the LCD safely out of the way I could happily set to butchering the frame and ex digitiser.
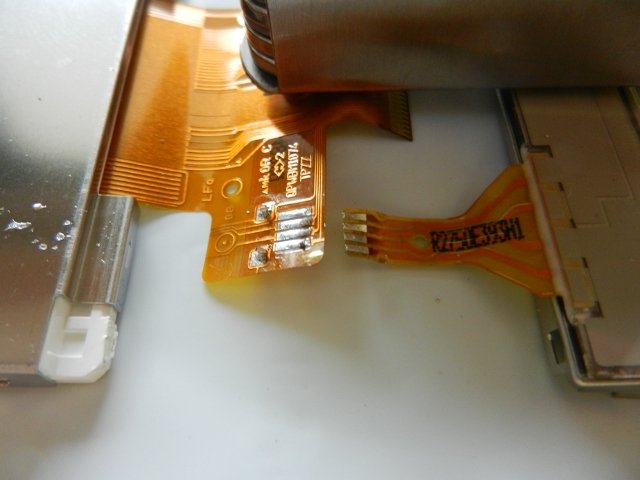
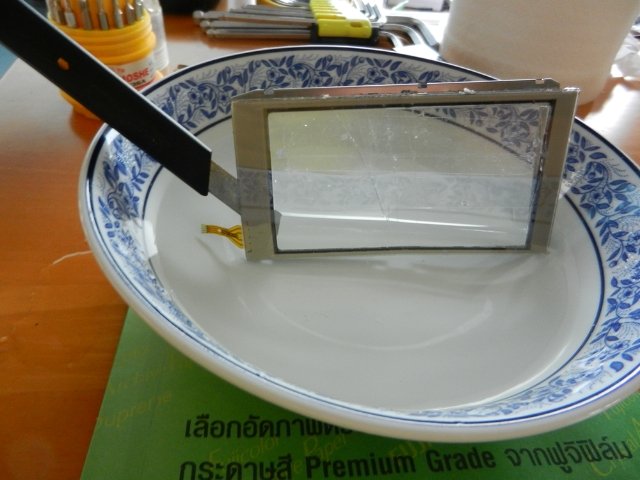
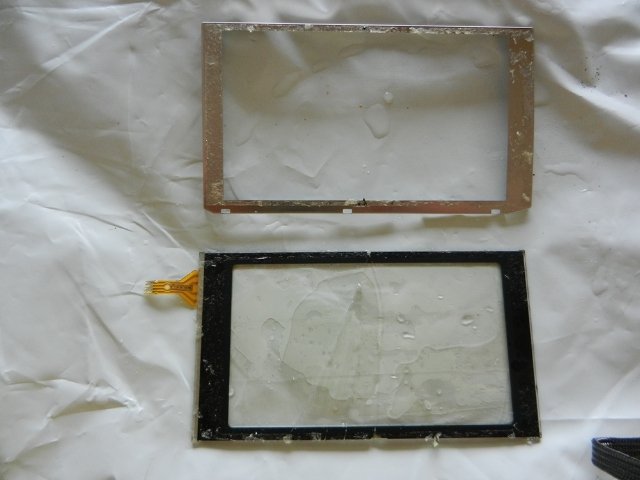
I then peeled off the adhesive strip backing and V-E-R-Y - C-A-R-E-F-U-L-Y, as there is only one chance to get it right, lined up the new digitiser with the LCD screen and gently pressed it home.
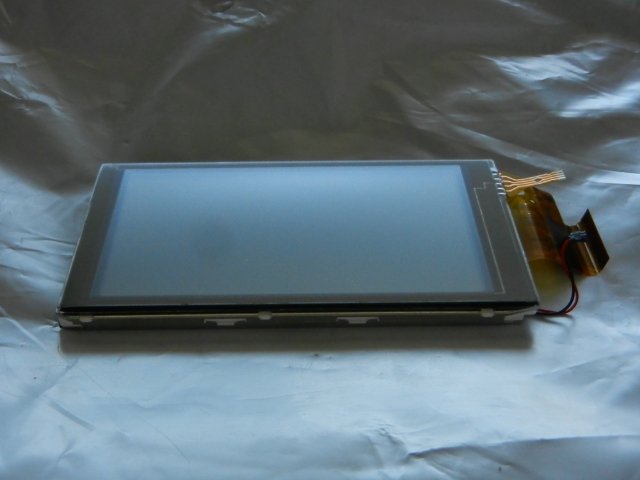
Now the real fun began. I had borrowed a fairly large general purpose soldering iron and the tracks were about the same size as the tip. I was wary of smearing one blob of solder across the lot so I cleaned and prepared the joints as much as possible then gave them a quick dab with the iron.
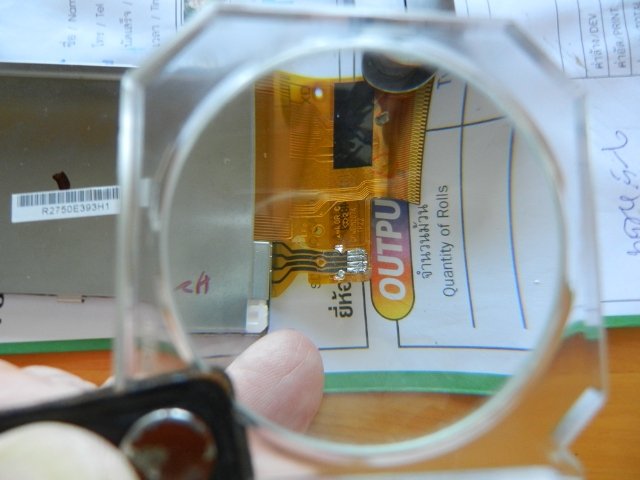
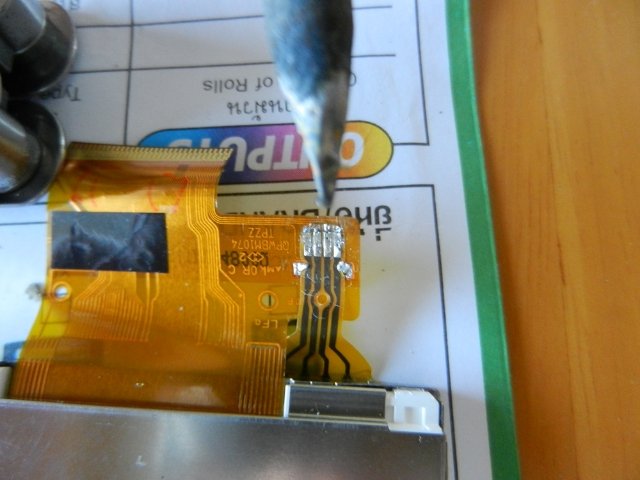
So far so good, I stuck the whole lot back together and excitedly pressed the 'On' button. It quickly came to life with a clear crack free home screen, and I touched a menu icon.
Nothing happened.
Starting to worry - was it the right screen, was it a dud etc, I tried the calibration routine, still nothing. Oh well, better take it apart again and check the connections. They seemed OK, so I put the battery back in and noticed the screen was flickering as I moved the two halves relative to each other. Then one of the `power` wires fell off and it stayed black - bugger!
The wire had broken off where it entered the LCD screen and I could see no way to reconnect it. Time for a beer.
After sleeping on it (or sleeping it off), I figured it was shit or bust, whether I didn't fix it or broke it in the attempt a new screen was going to be needed so I got stuck in again.
I started off trying to cut and scrape away the glue where the wires dissapeared into the screen in the hope of exposing a soldered joint. It took ages but as I cleared most of it I noticed the side flexing a bit and wondered if it wasn't a fully bonded assembly.
I prised off the digitiser again, and this time continued to split the LCD assembly itself. It separated into half a dozen layers, most wafer thin and I put them aside in careful order. The LED backlight strip from where the wire had come adrift was then relatively easy to resolder.
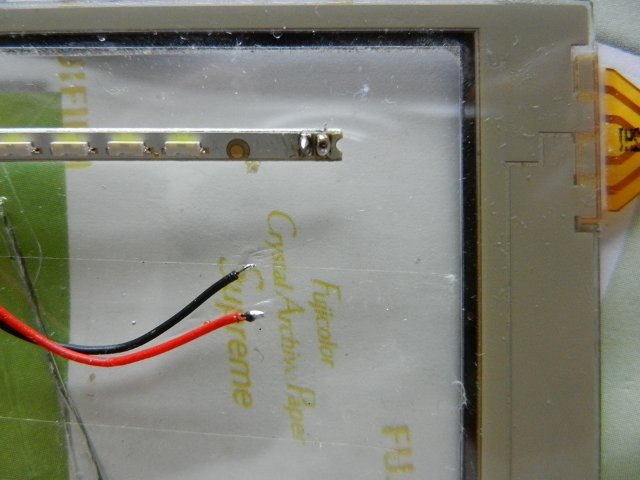
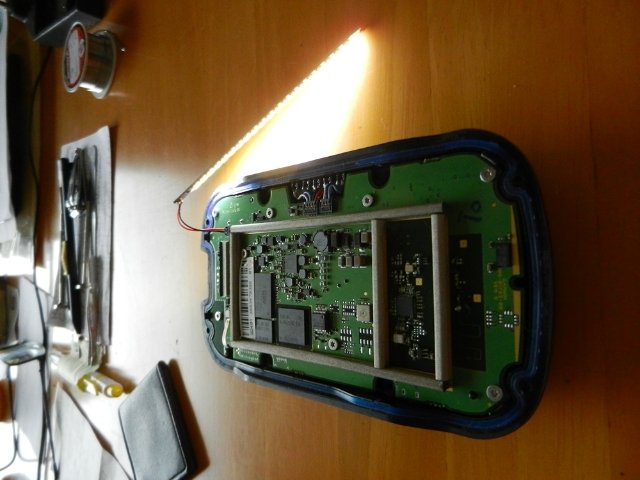
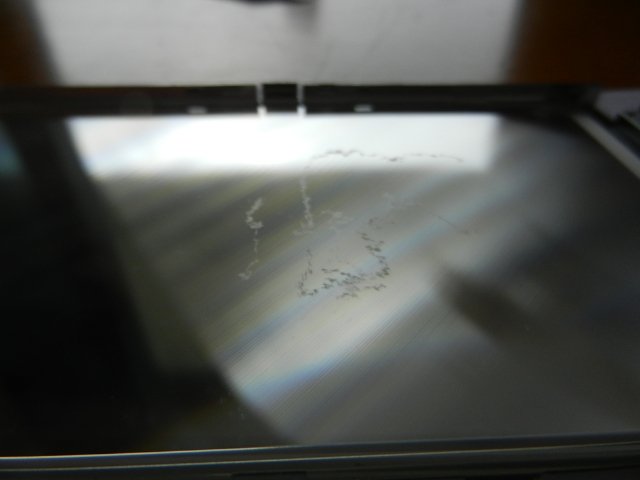
There was evidence of water damage, so I cleaned all the parts and reassembled after dabbing plenty of glue on the backlight wire connections.
By now I had found on the web that the resistance of the digitizer should be @300ohms across one axis and @600ohms across the other,and bought a tiny needlepoint soldering iron. It was a bit fiddly to test properly as the meter probes were larger than the cable tracks but there did appear to be a dry joint so I unsoldered, cleaned, then resoldered with the new iron. After this the connection to the ribbon cable tested ok so I proceeded to reassemble the lot again.
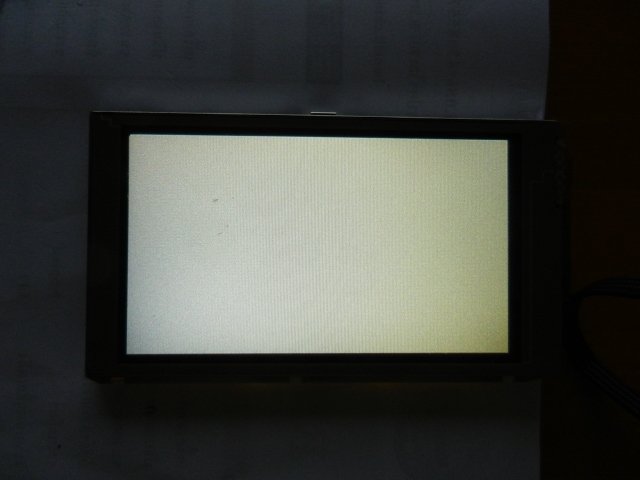
This time, hooray, same as before but no flickering, so I apprehensively touched a menu button and - whale-oil-beef-hooked - it worked.
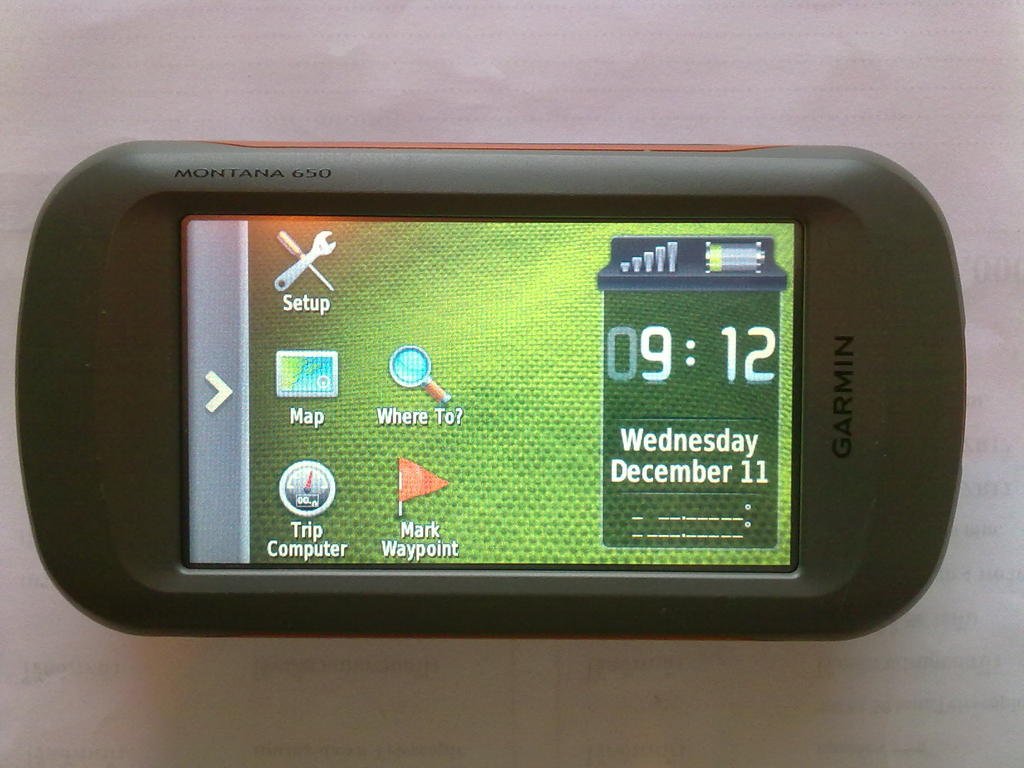
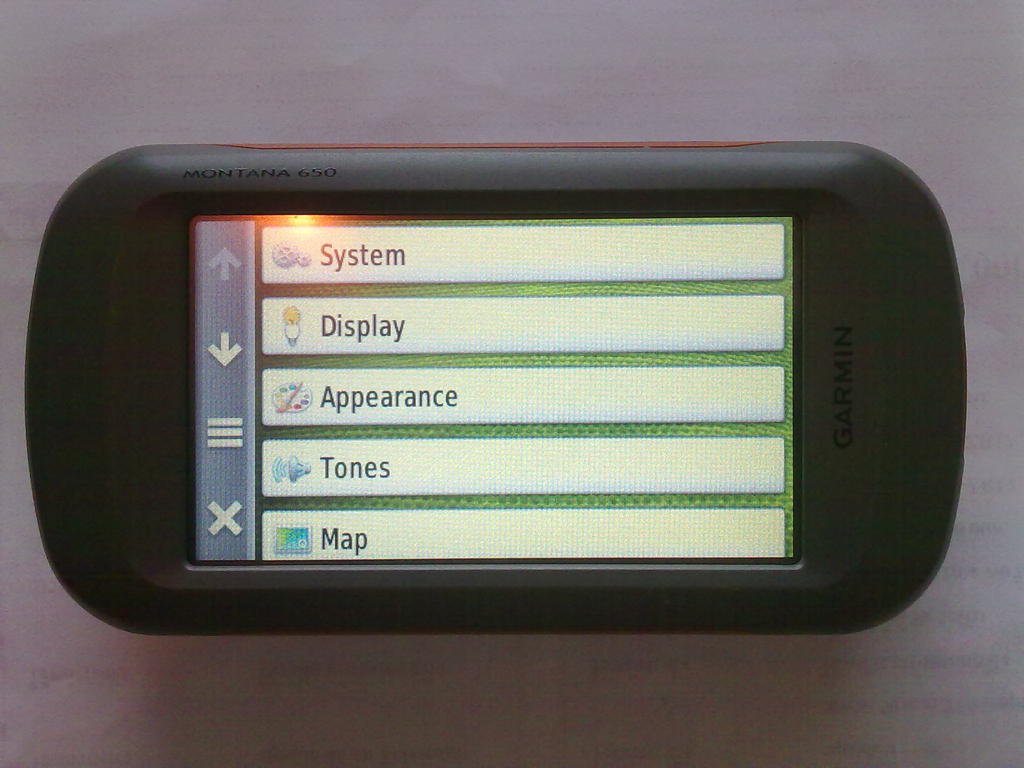
So what have I learnt?
Don't try this unless you have:-
A steady hand. (I haven't)
Good eyesight. (I haven't)
The right tools, preferably including a decent electronics 'soldering station' with fixed magnifier and clamps. (I haven't)
But possibly the most important for anyone who has read this far - if your screen is unresponsive, possibly due to water, stripping and cleaning might work, or even if broken it is possible to fix for less than $200, and potentialy a long wait and a lot of agro if not in Europe or the US?
Amazon.com: Touch Screen Digitizer Glass Replacement For Garmin Montana 600 650 650T: GPS & Navigation.
some looked downright dodgy, there was on complete with LCD Ebay in the US for around $100 - but the postage was stated as $200!
I was a bit dubious about a Chinese site, and they didn't ship to Thailand or the UK, but a message to them received an immediate reply which was reassuring. Theys said they didn't ship to the UK due to customs clearance problems and the risk of bad feedback (the Parcelforce etc rip off?), but if I would accept that they would make an exception. It arrived quickly with no problems but I had already left so my lodger posted it on to Thailand, where it also arrived quickly and hassle free.
Now the fun part! Disassembly was surprisingly easy with no sealants, glue or sealed screws, just tiny 'torx' heads.


However once the case was split there was very little play on the cables to get at the connectors - that was going to cause trouble later!


I flipped the black latch on the ribbon cable and used a magnifying glass to figure out the backlight power, which turned out to unplug vertically from the board with leverage from a tiny screwdriver. I was worried about getting the wrong angle and damaging the tiny pins.
The digitiser is stuck to the frame so I tried warming the unit to see if it made getting it off any easier - it didn't so I decided to remove it from the LCD to avoid the risk of breaking it. That was nerve wracking enough as these things are designed to snap together, not apart so I gently bent the tabs well free figuring they would be easy to straighten later.
I unsoldered the cable connection, then with the LCD safely out of the way I could happily set to butchering the frame and ex digitiser.


I then peeled off the adhesive strip backing and V-E-R-Y - C-A-R-E-F-U-L-Y, as there is only one chance to get it right, lined up the new digitiser with the LCD screen and gently pressed it home.

Now the real fun began. I had borrowed a fairly large general purpose soldering iron and the tracks were about the same size as the tip. I was wary of smearing one blob of solder across the lot so I cleaned and prepared the joints as much as possible then gave them a quick dab with the iron.


So far so good, I stuck the whole lot back together and excitedly pressed the 'On' button. It quickly came to life with a clear crack free home screen, and I touched a menu icon.
Nothing happened.
Starting to worry - was it the right screen, was it a dud etc, I tried the calibration routine, still nothing. Oh well, better take it apart again and check the connections. They seemed OK, so I put the battery back in and noticed the screen was flickering as I moved the two halves relative to each other. Then one of the `power` wires fell off and it stayed black - bugger!
The wire had broken off where it entered the LCD screen and I could see no way to reconnect it. Time for a beer.
After sleeping on it (or sleeping it off), I figured it was shit or bust, whether I didn't fix it or broke it in the attempt a new screen was going to be needed so I got stuck in again.
I started off trying to cut and scrape away the glue where the wires dissapeared into the screen in the hope of exposing a soldered joint. It took ages but as I cleared most of it I noticed the side flexing a bit and wondered if it wasn't a fully bonded assembly.
I prised off the digitiser again, and this time continued to split the LCD assembly itself. It separated into half a dozen layers, most wafer thin and I put them aside in careful order. The LED backlight strip from where the wire had come adrift was then relatively easy to resolder.


There was evidence of water damage, so I cleaned all the parts and reassembled after dabbing plenty of glue on the backlight wire connections.
By now I had found on the web that the resistance of the digitizer should be @300ohms across one axis and @600ohms across the other,and bought a tiny needlepoint soldering iron. It was a bit fiddly to test properly as the meter probes were larger than the cable tracks but there did appear to be a dry joint so I unsoldered, cleaned, then resoldered with the new iron. After this the connection to the ribbon cable tested ok so I proceeded to reassemble the lot again.

This time, hooray, same as before but no flickering, so I apprehensively touched a menu button and - whale-oil-beef-hooked - it worked.


So what have I learnt?
Don't try this unless you have:-
A steady hand. (I haven't)
Good eyesight. (I haven't)
The right tools, preferably including a decent electronics 'soldering station' with fixed magnifier and clamps. (I haven't)
But possibly the most important for anyone who has read this far - if your screen is unresponsive, possibly due to water, stripping and cleaning might work, or even if broken it is possible to fix for less than $200, and potentialy a long wait and a lot of agro if not in Europe or the US?


